前言
使用Github Actions自动化部署之后,可以脱离本地电脑,再也不用担心源码丢失。
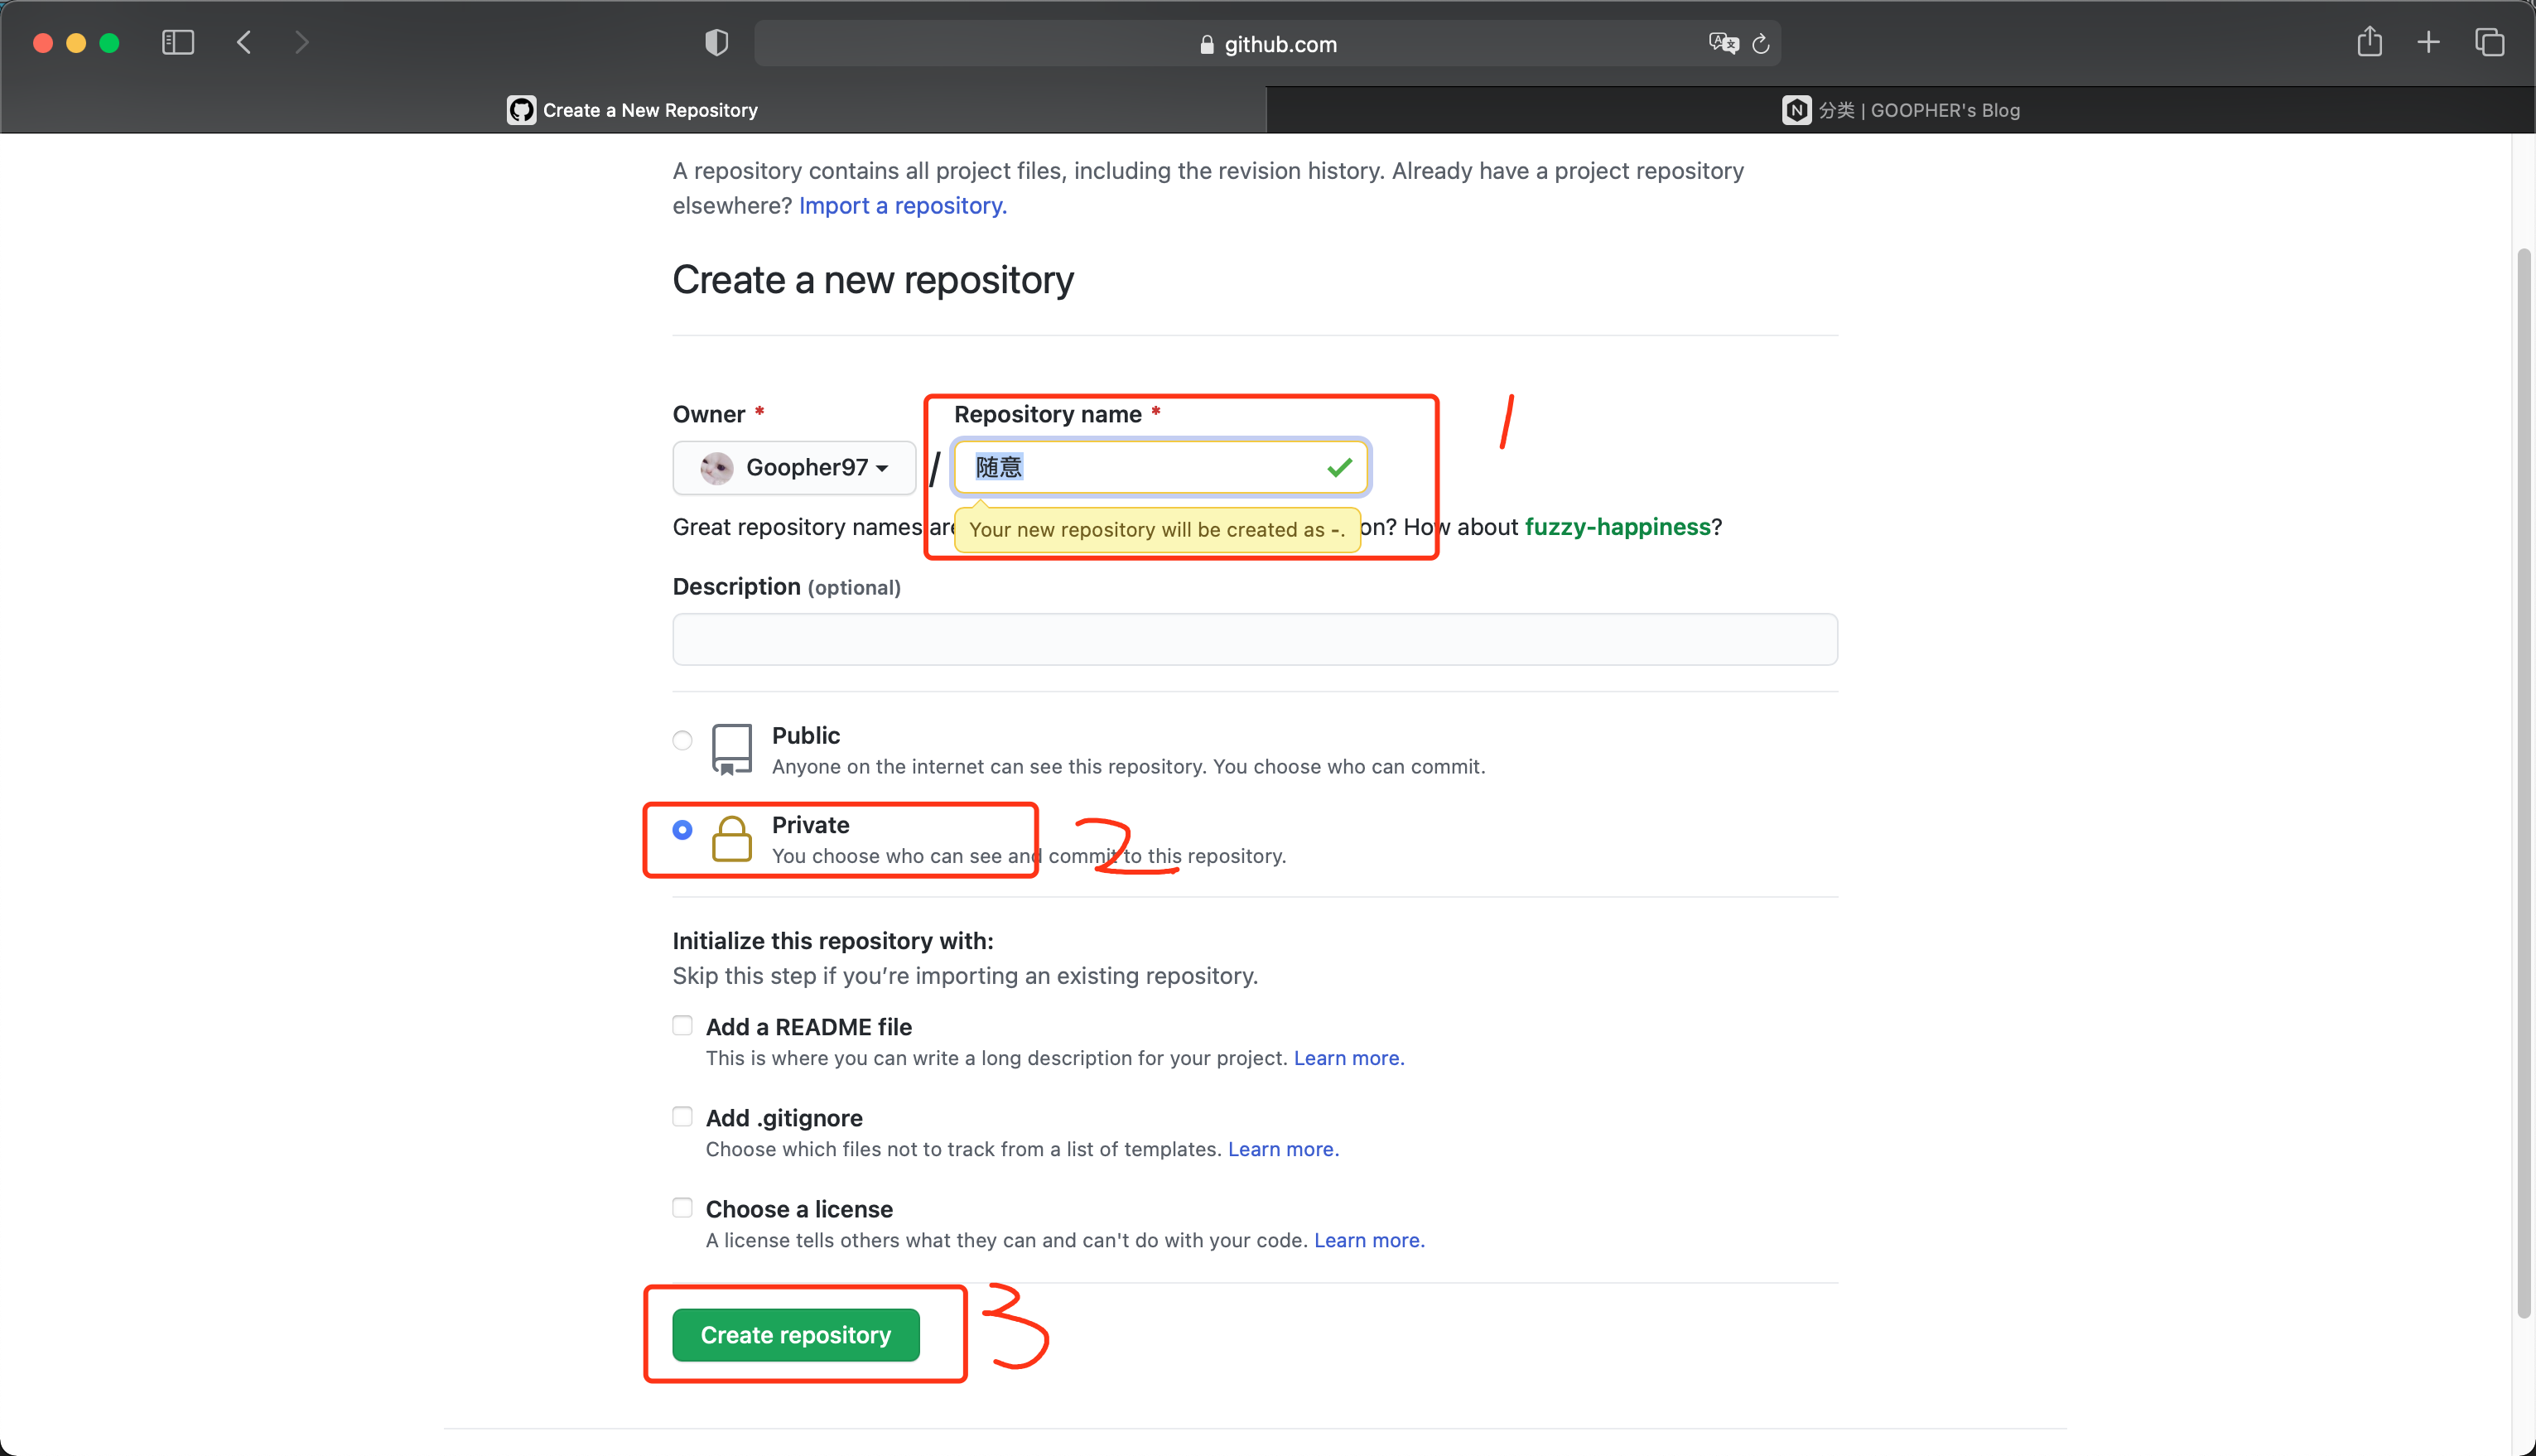
新建私密仓库
首先需要在GitHub上新建一个私密仓库,仓库名称随意,注意不要使用README初始化仓库。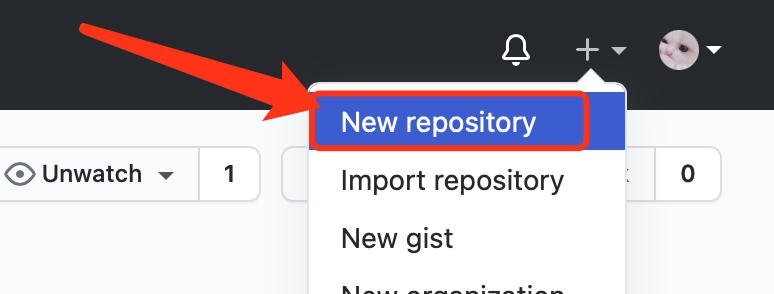
生成公私秘钥对
在mac的终端中执行:
ssh-keygen -t rsa -C "Github 的邮箱地址"
之后生成的密钥默认存储在/用户/angushall/.ssh/目录下。
修改
将Hexo博客的根目录复制到别的地方,显示隐藏文件夹,然后将里面的隐藏文件删除。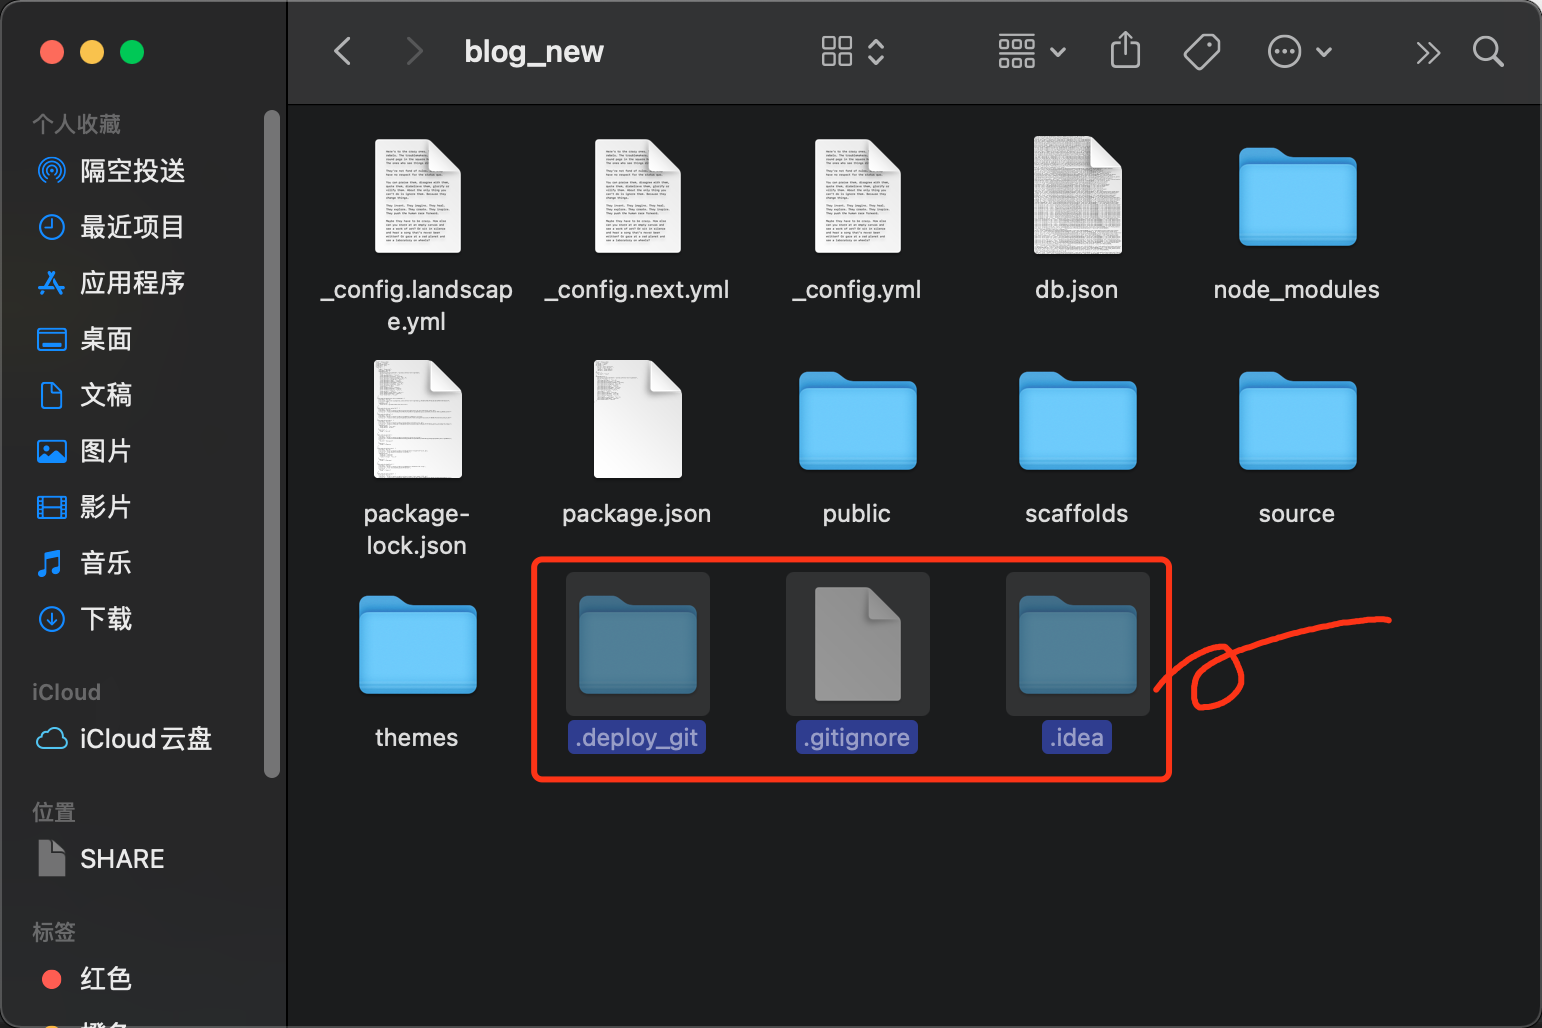
之后将.ssh文件夹复制进去(这个可以不弄,我丢上去备份的)。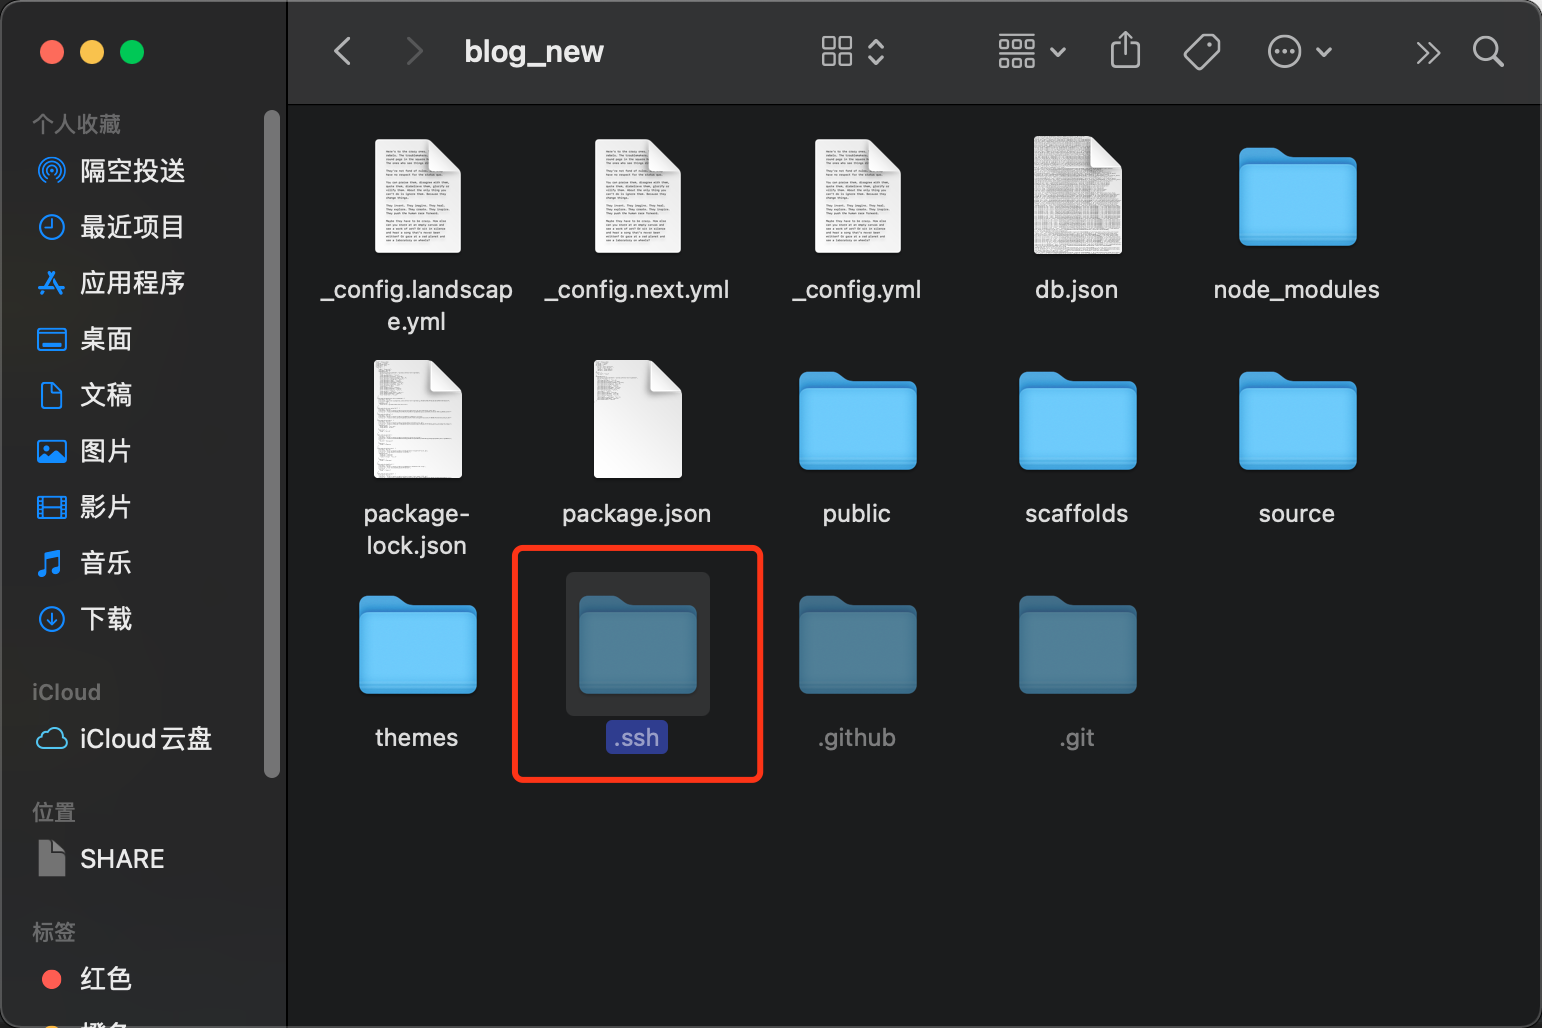
再新建一个.github隐藏文件夹,里面新建一个workflows文件夹,在workflows里面新建一个自动化的配置文件hexoCI.yml
其内容如下:
# 自动化名称
name: Hexo Blog CI

# 触发条件
on:
  push:
    branches:
      - main

# 设置环境
jobs:
  build:
    runs-on: ubuntu-latest

    steps:
      # check it to your workflow can access it
      # from: https://github.com/actions/checkout
      - name: Checkout Repository master branch
        uses: actions/checkout@master

      # from: https://github.com/actions/setup-node
      - name: Setup Node.js 15.x
        uses: actions/setup-node@master
        with:
          node-version: "15.x"

      - name: 安装Hexo
        run: |
          npm install hexo-cli -g
          npm install

      - name: 设置密钥
        env:
          HEXO_DEPLOY_PRIVATE_KEY: ${{ secrets.HEXO_DEPLOY_PRIVATE_KEY }}
        run: |
          mkdir -p ~/.ssh/
          echo "$HEXO_DEPLOY_PRIVATE_KEY" > ~/.ssh/id_rsa
          chmod 600 ~/.ssh/id_rsa
          ssh-keyscan github.com >> ~/.ssh/known_hosts

      - name: 设置Git信息
        run: |
          git config --global user.name '你GitHub的用户名'
          git config --global user.email '你GitHub的邮箱'

      - name: Hexo三连
        run: |
          hexo clean
          hexo generate
          hexo deploy
修改博客根目录的_config.yml文件:
deploy:
   type: git
   repo: //这里改成ssh的链接
   branch: master
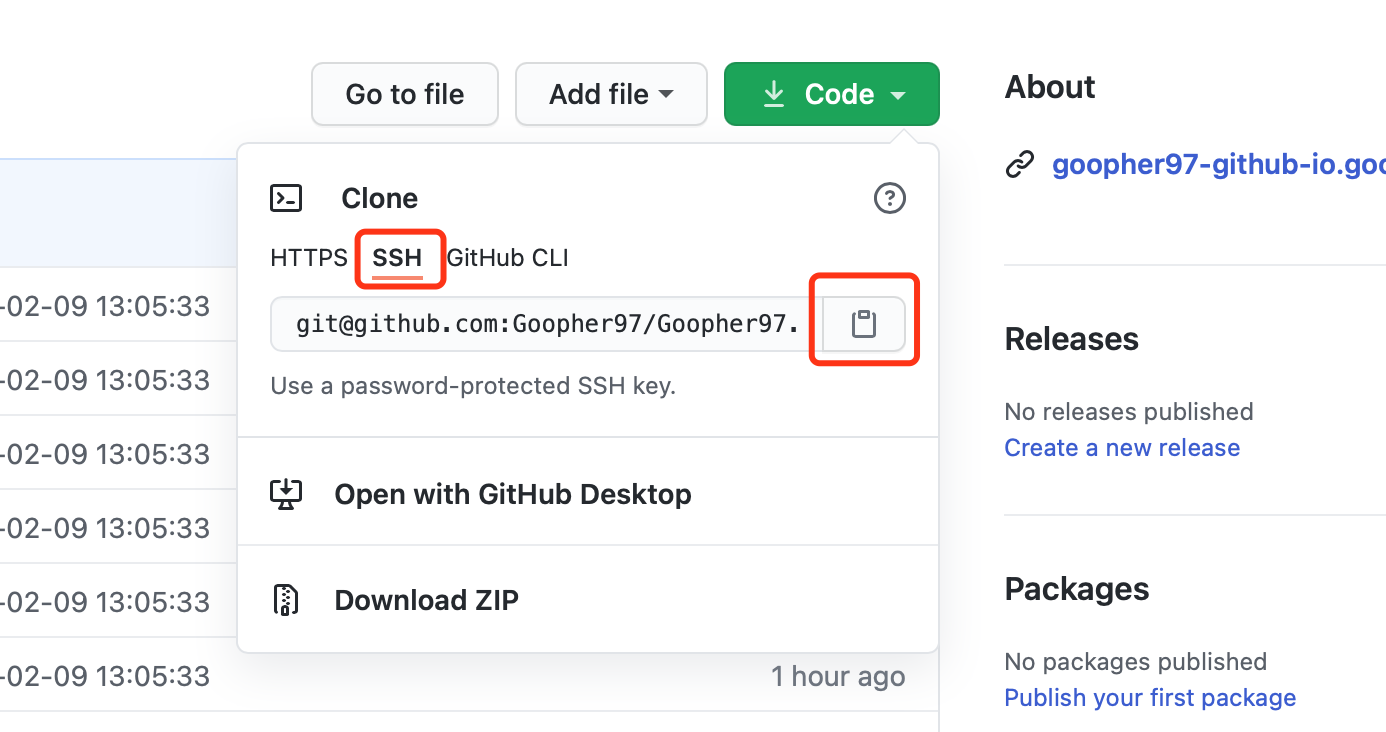
打开node_modules文件夹,删除里面的hexo-deployer-git。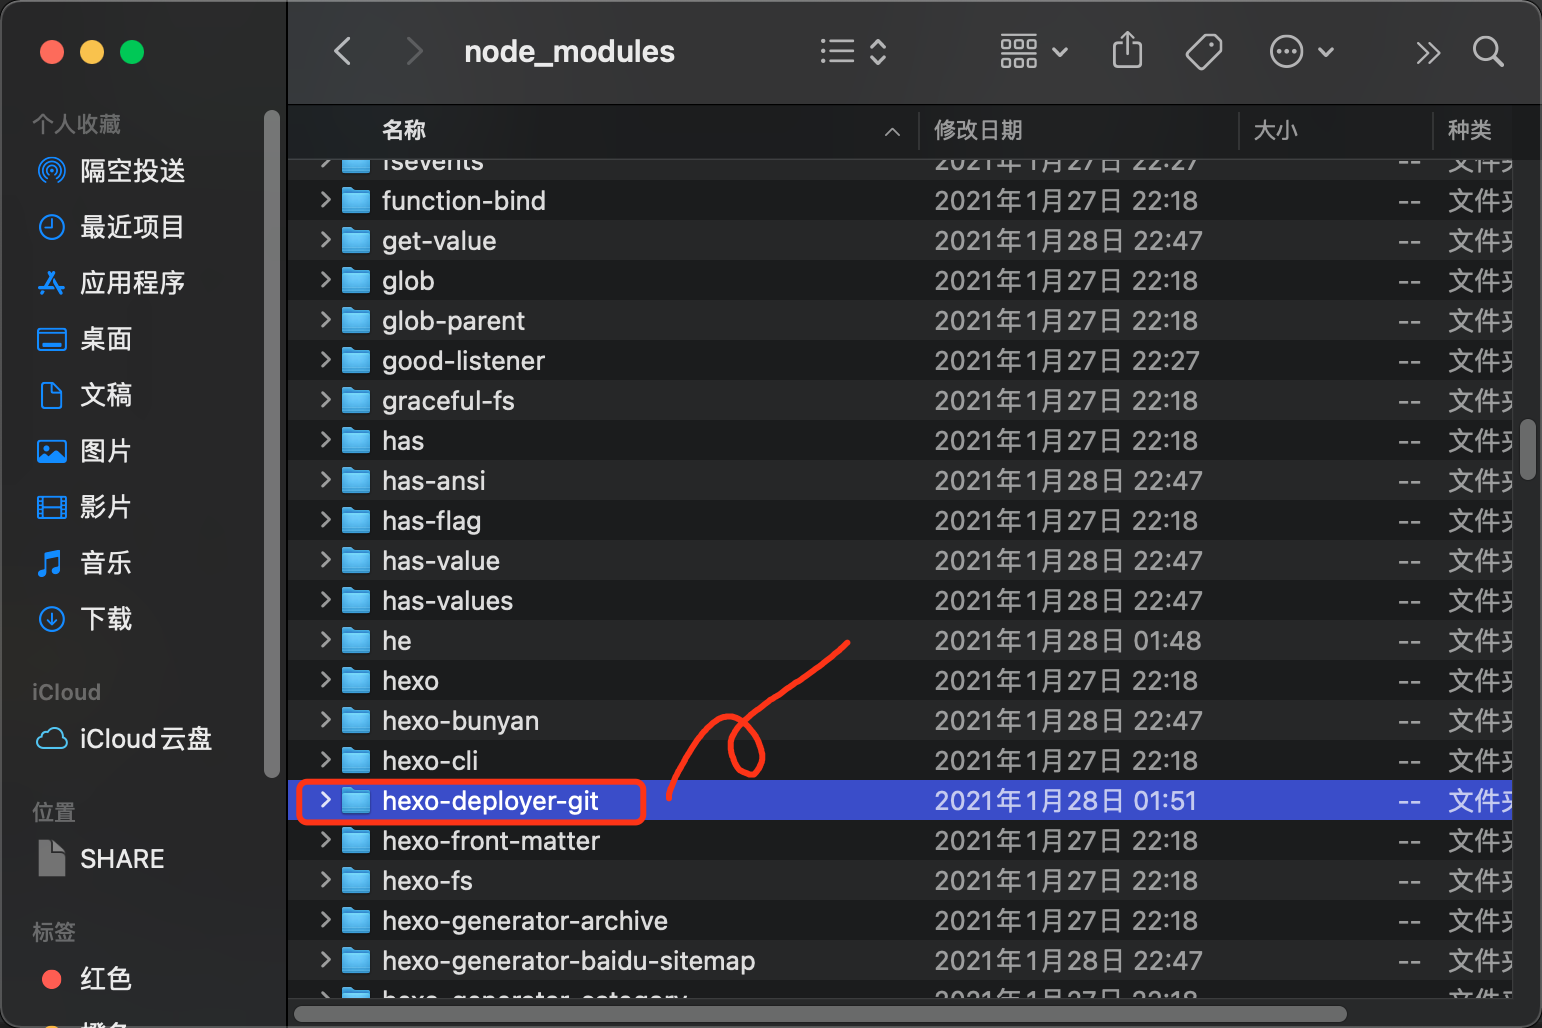
配置
配置公钥:
在github 网站–>Settings–>SSH and GPG keys里,名称为HEXO_DEPLOY_PRIVATE_KEY,内容为.ssh/id_rsa.pub里的,注意复制的时候会多一个空格,把它删掉。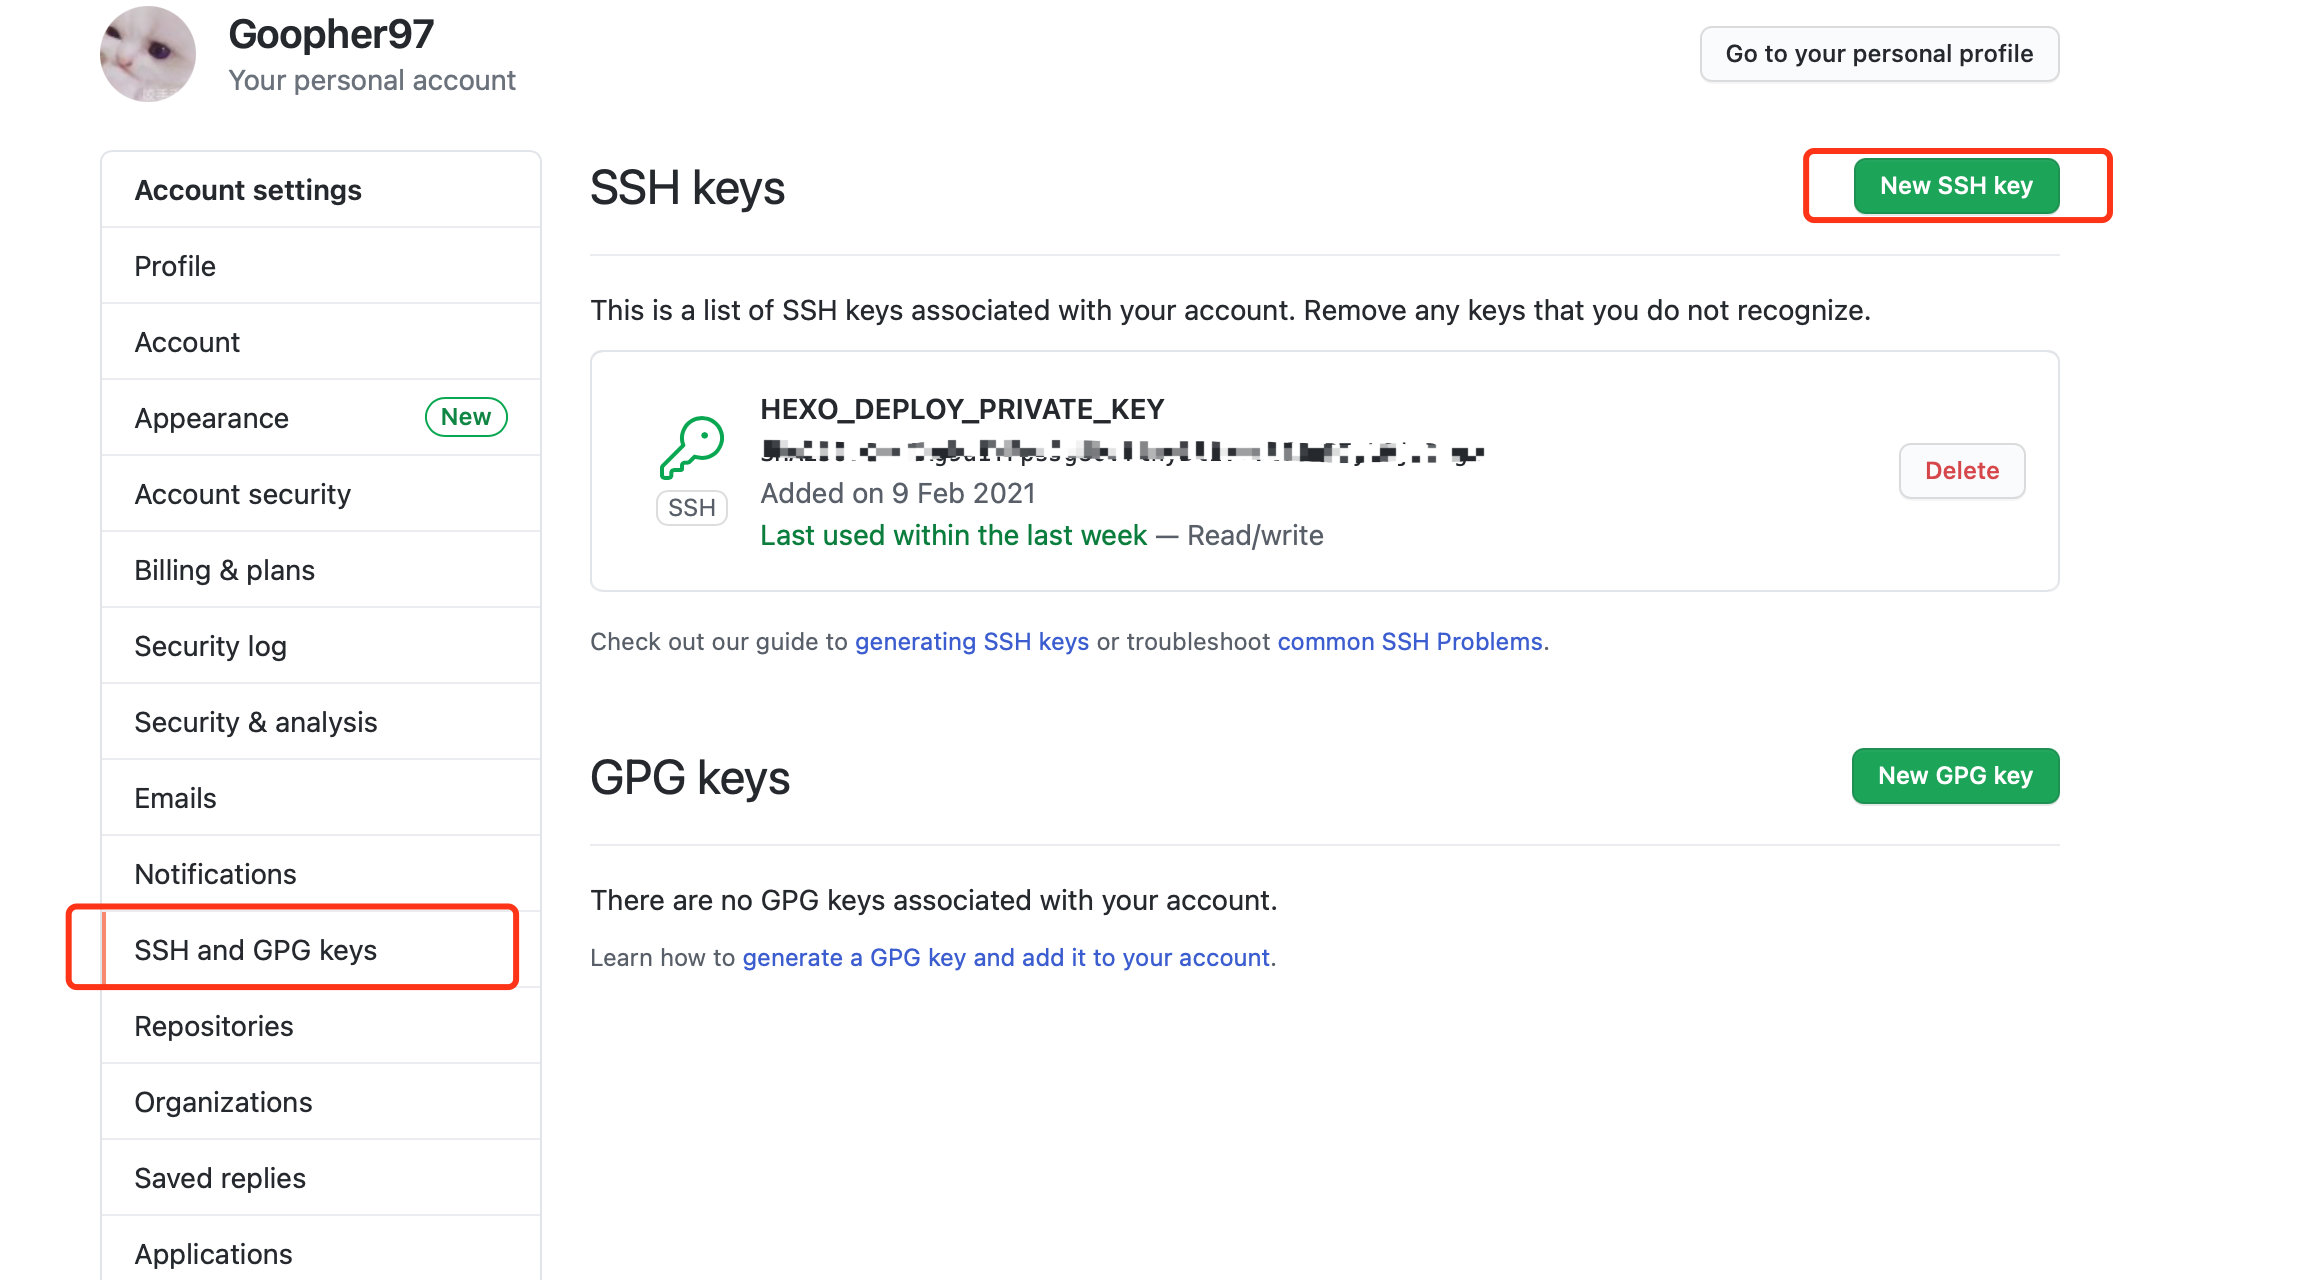
配置私钥:
在私有仓库的 Settings->Secrets 里,名称为HEXO_DEPLOY_PRIVATE_KEY,内容为.ssh/id_rsa里的,注意复制的时候会多一个空格,把它删掉。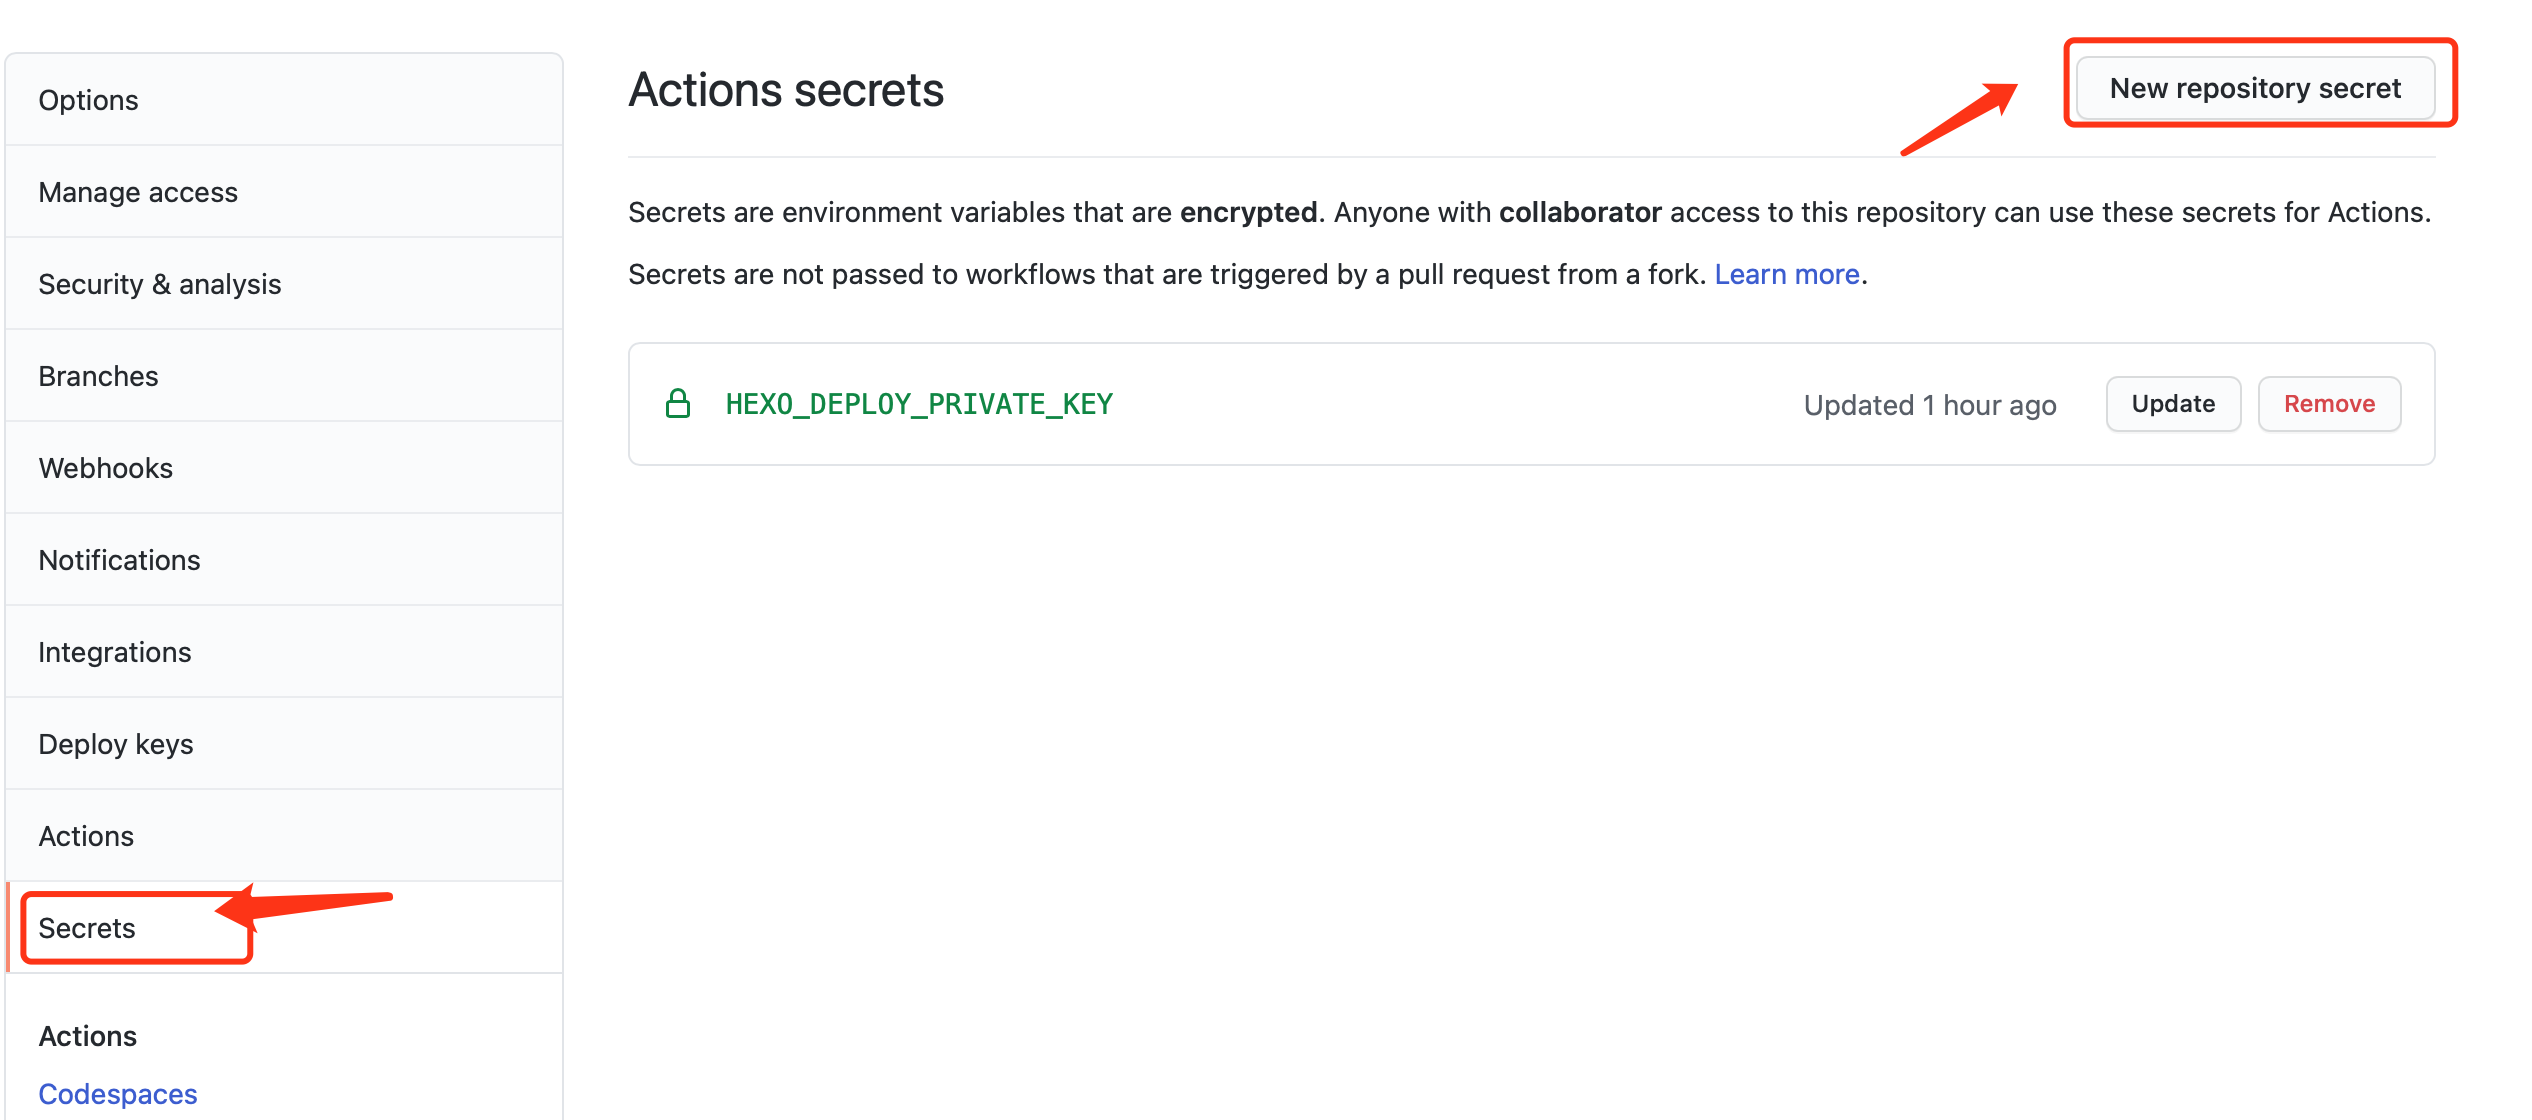
之后在终端中cd切换至改好的hexo博客目录里,将博客推送到私有仓库。
git init
git add .
git commit -m "first commit"
git branch -M main
git remote add origin git@github.com:用户名/私有仓库名.git
git push -u origin main
查看效果
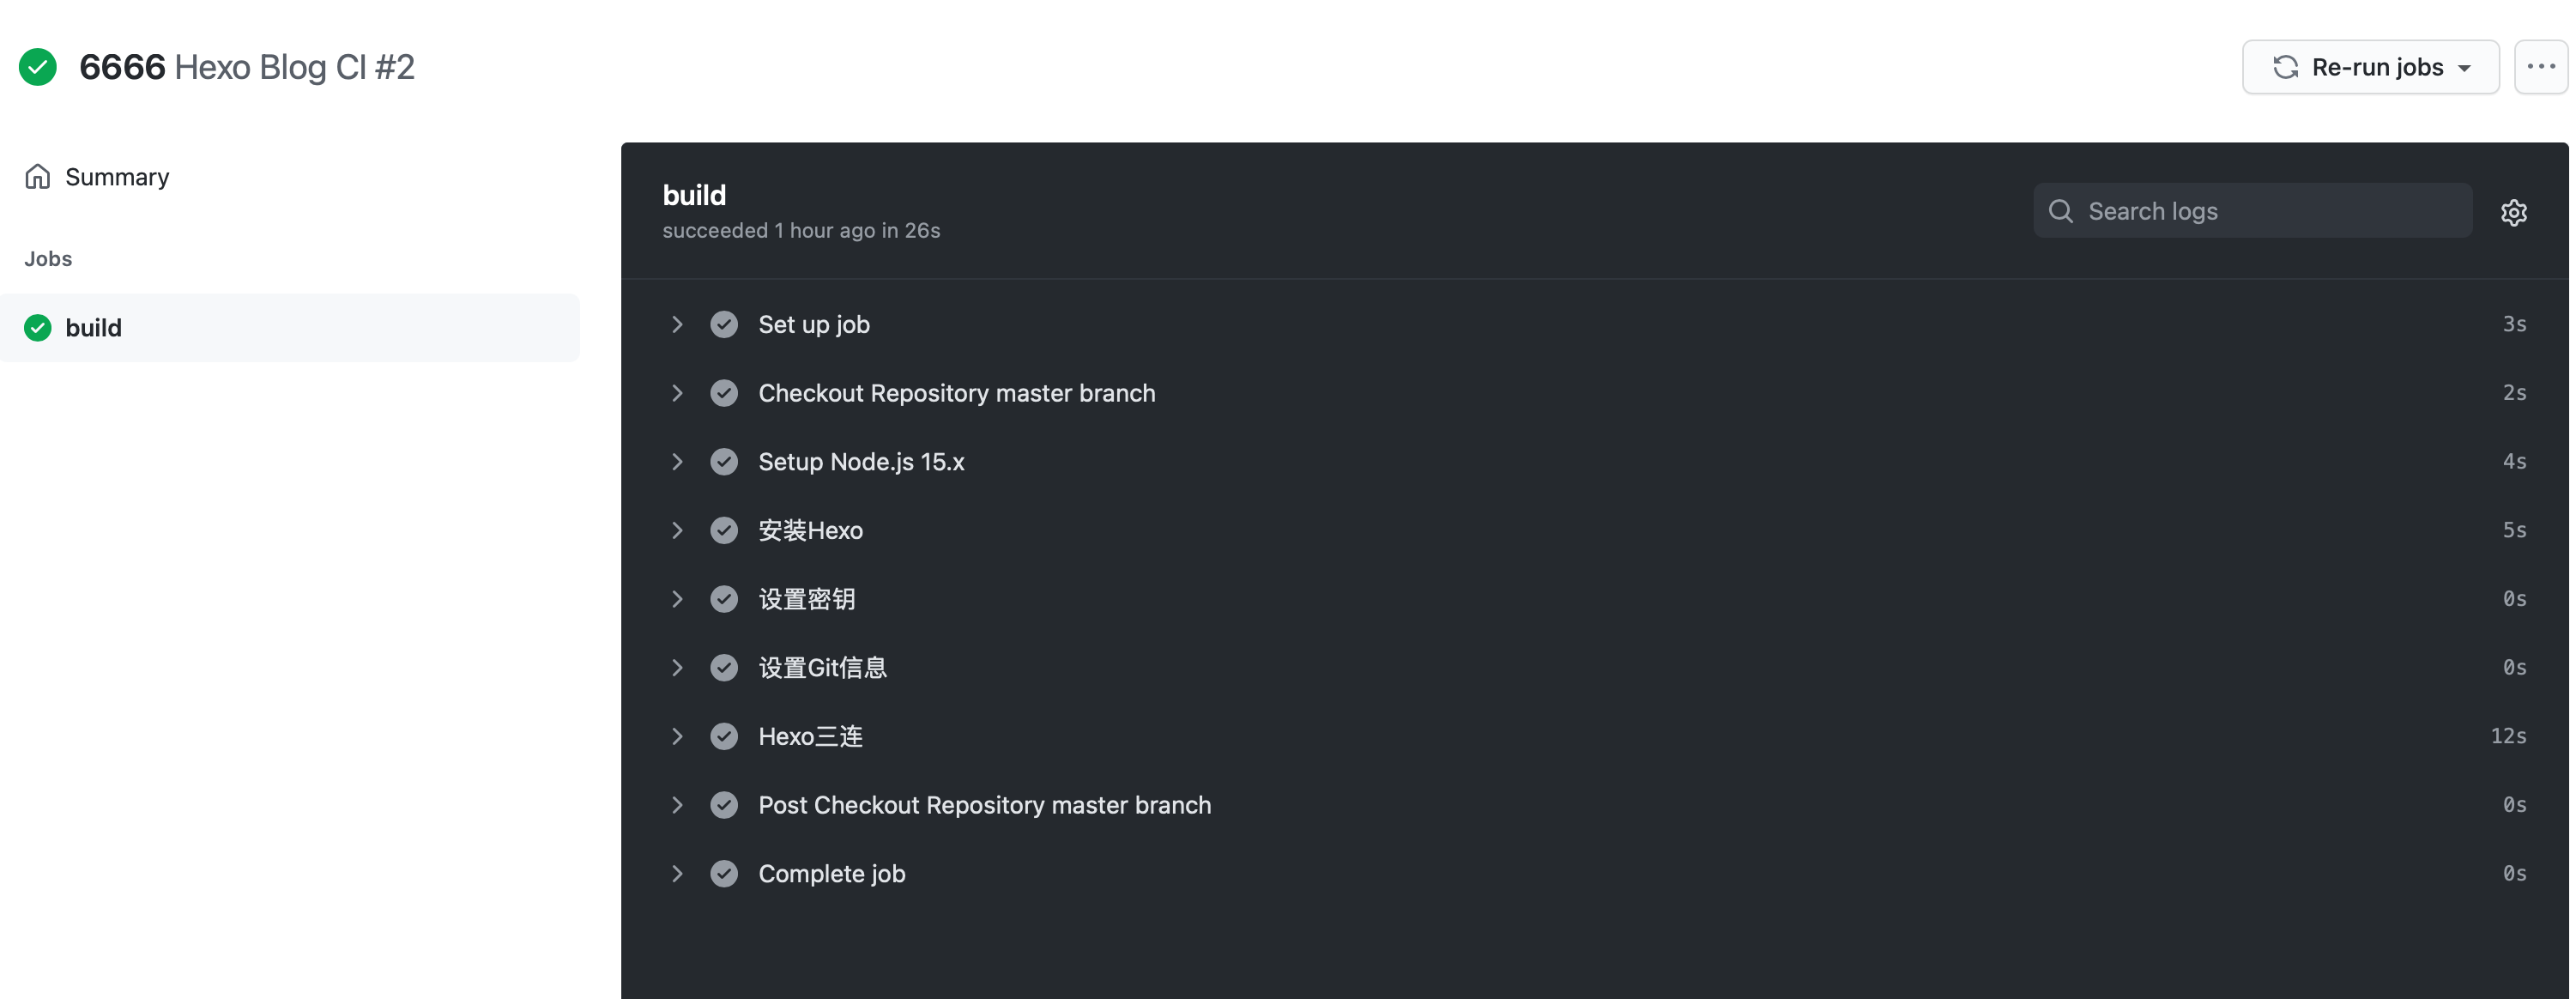
点击私有仓库的Action查看,运行正常再看一下博客内容有没有问题。我在Actions运行之后发现博客里的效果等有缺失,发现是环境问题,将Node版本改为15.x后解决。